How to Install Moored & Towed Cable Fairings
Introduction
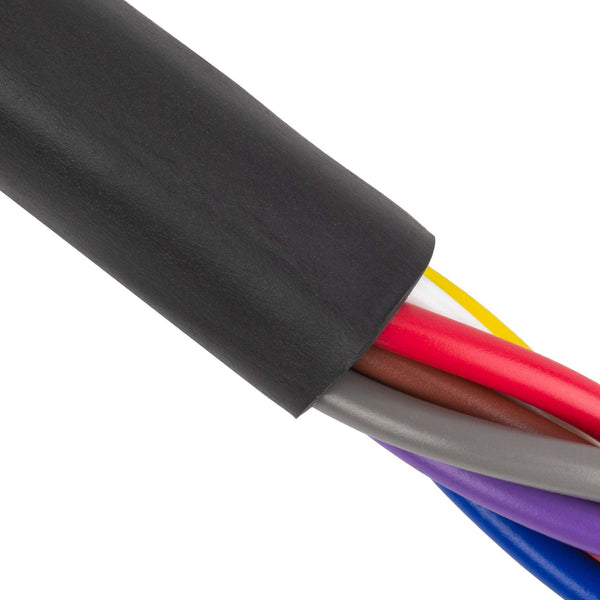
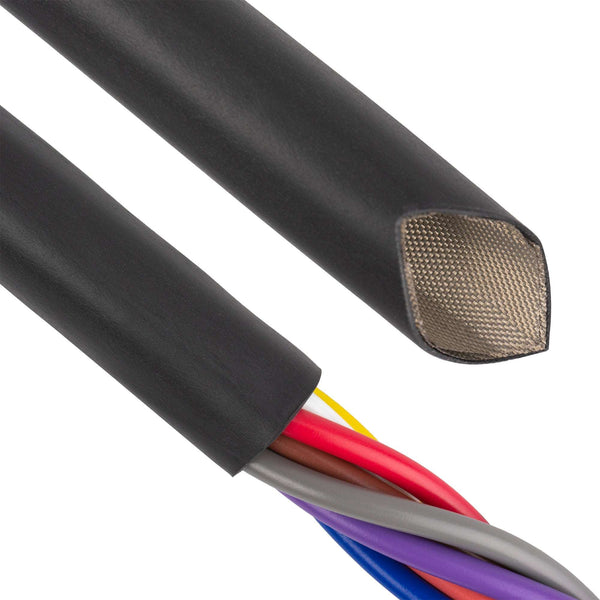
Let's start out by explaining why you may use Marine Fairings to cover your wires & cables.
Because normal water movement and turbulence creates noise and vibrations which can distort or destroy signals from instruments, similar to the interference caused by EMI/RFI, Zippertubing has developed it’s Marine Fairing product line to greatly reduce these problems. Zippertubing Fairings can improve hydrodynamic flow characteristics and materially reduce vibration and “strumming” because each independent, flexible fin is free to assume the most favorable flow orientation.
Installation
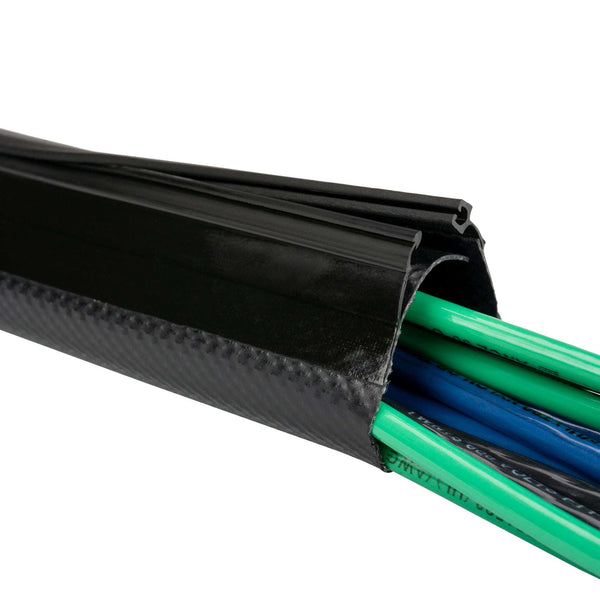
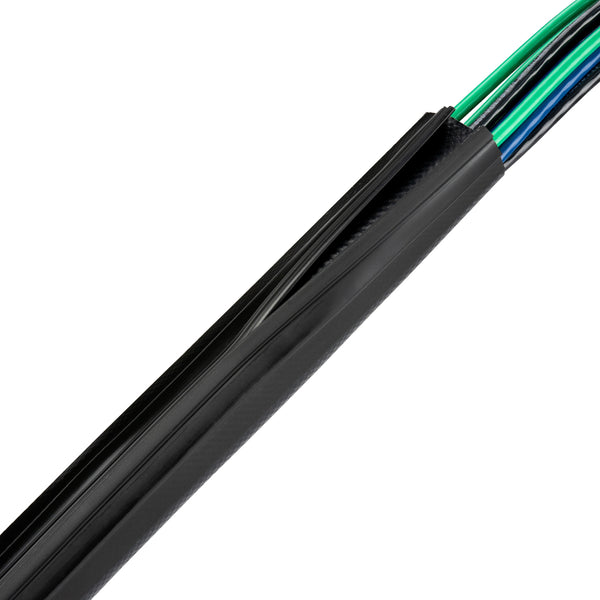
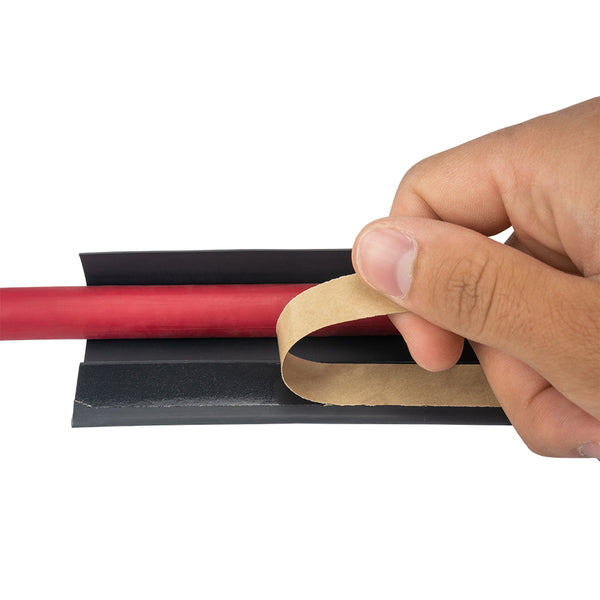
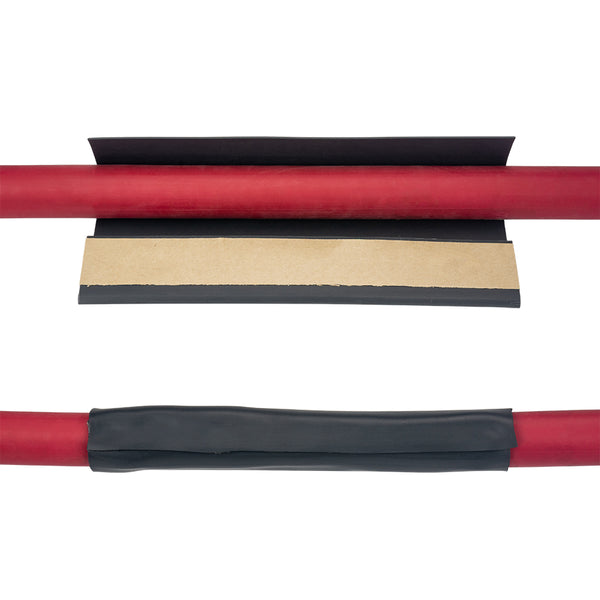
Step 1: Track Closure
Please refer to our Z-Track User Guide located on www.zippertubing.com for the complete track closure procedure.
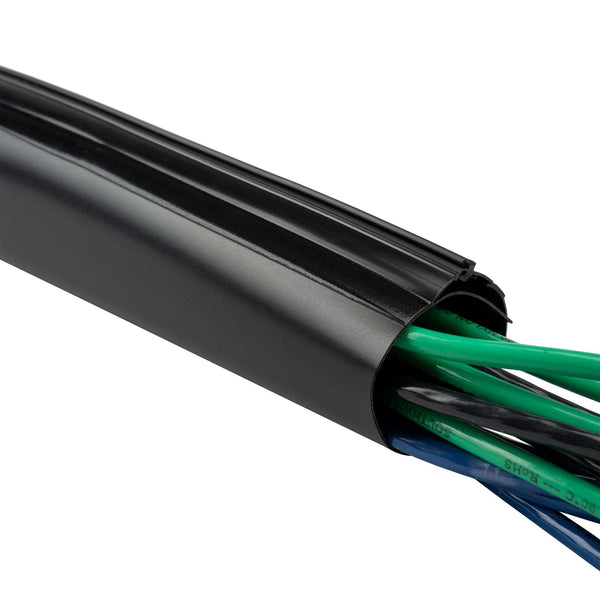
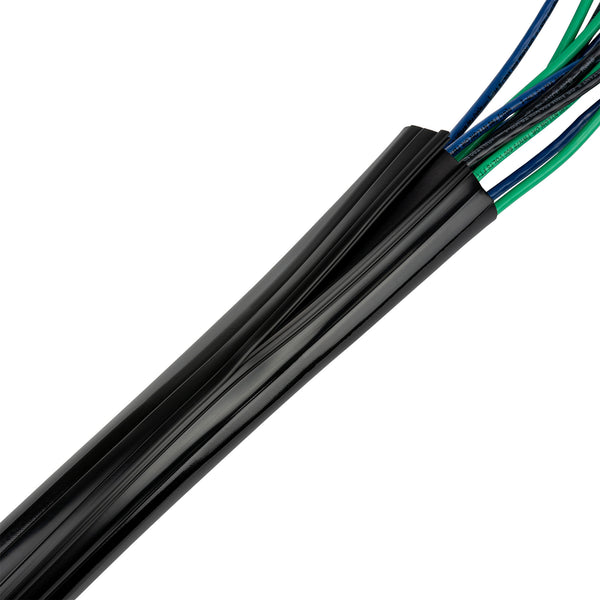
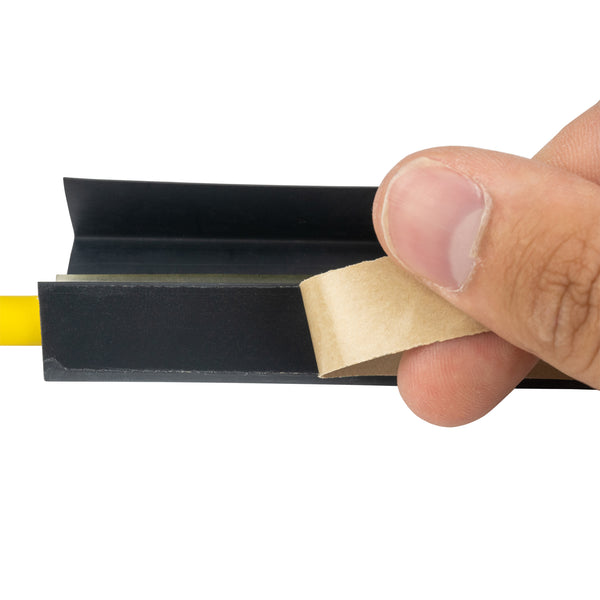
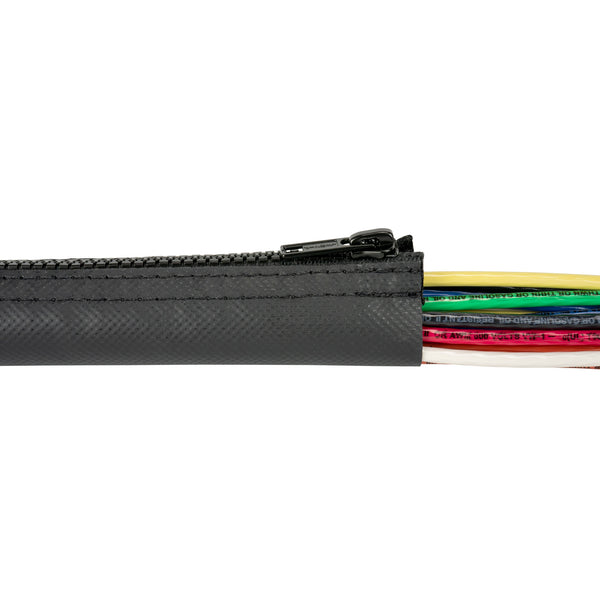
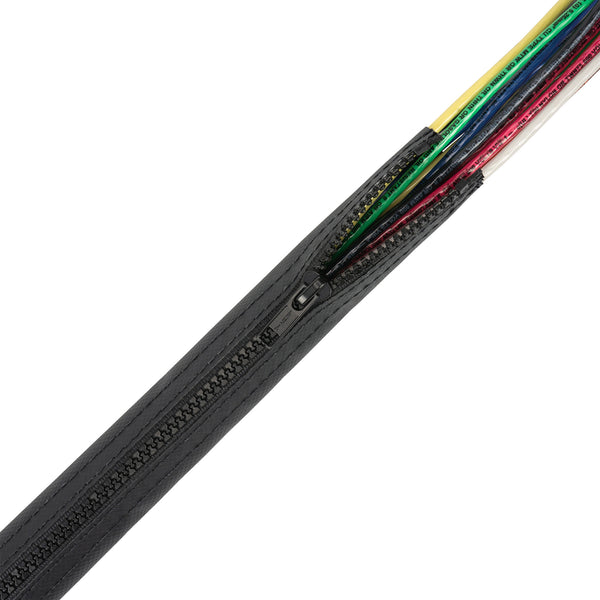
Step 2: Fairing Installation
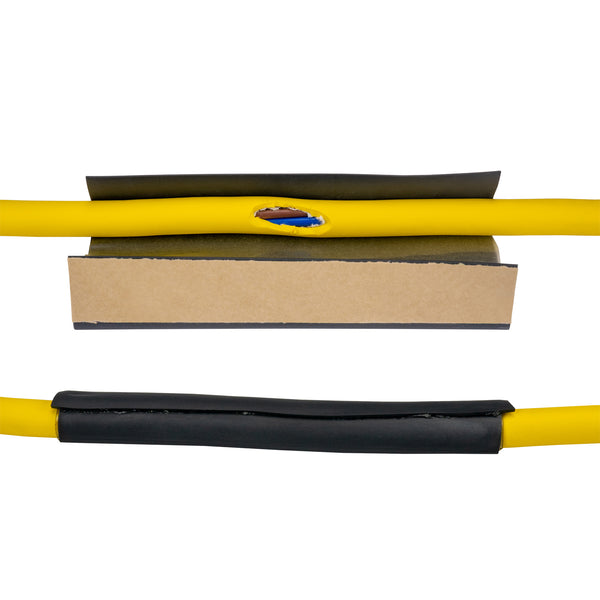
Begin by zipping the fairing material around cable as described in the appropriate track closure installation document. Close the first 3 feet of fairing and then install a plastic cable tie-wrap or metal band clamp at the fairing end between the first and second fin.
Note: Do not be alarmed if the fairing seems to be too baggy on the cable (not skin tight). This is the desired condition. The excess space will fill with water and help create a teardrop fairing shape as the cable is pulled
through the water.
Drain Holes (Optional)
Some users have found it desirable to punch a 1/8-1/4” diameter hole every few feet in the fairing jacket material to reduce the time it takes for water to fill and drain from the space between the cable and jacket during the deployment and extraction cycle. If extraction speeds are fast and too much water remains trapped within the jacket as it winds up on the take-up drum, the pressure of the overlaying cable winds could burst the jacket closure seam on the layers below. A hand operated leather punch with varying size hole punches works well to apply the holes. Adding holes is mandatory if fairing overlap sections have been sealed with an adhesive tape instead of a cable clamp.
Step 3: Fairing Clamps
Continue closing the fairing. At approximately twenty-five feet of cable length (and every 25’ thereafter) install another plastic cable tie-wrap or metal band clamp. These clamps will keep the fairing from sliding down the cable as it moves through the water.
Step 4: Fairing Splices
At some point along your cable you may find that it is necessary to splice two pieces of fairing material together. To do this, stop closing the first fairing segment at least 1 foot ahead of the splice area. Use a pair of scissors to cut off the first several fairing fins from the new segment that you intend to add. Install the first few feet of this new fairing segment around the cable. Slide the new segment up and under the area where the first segment will end. Finish zipping the first segment closed over the second. Be sure that you have a lap splice area that is at least 3 to 4 inches long. Install two plastic tie-wraps or metal band clamps between the last two fins of the first faring segment and trap the second segment underneath the end of the first.


Step 5: Track Sealing (Optional)
If your sea conditions are severe or your tow speed exceeds 5 knots you may find it advantageous to solvent weld the track halves together. The interlocked track halves can be permanently welded together by the procedure below. Zippertubing no longer recommends this procedure for general wire shop harness fabrication where ventilation may be marginal. However, it is an acceptable procedure when the solvent is used outdoors.
Material:
There are two solvent materials that can be used to chemically weld (seal) Zippertubing tracks together. Both of these materials are available from commercial chemical supply houses by their chemical names. Always follow the material supplier’s handling, safety precautions and shelf life recommendations.
These products are:
Tetrahydrofuran (THF) – 1 to 3 minute cure time
Cyclohexanone - 4 to 6 hour cure time
Whenever possible, install the fairings on the tow cables and prep the cable reeling drum while the vessel is at the dock. Installation can be done at sea on the deck of the vessel if enough room exists and sea conditions allow, but installations while at sea will be more time consuming and awkward.
The solvent material must be transferred into small (6 oz. typical) metal containers prior to attempting to seal the Zippertubing jackets. The small containers should have a screw-on metal cap and a screw-on applicator tip. The applicator tip shall accept a screw-on, hollow needle tip (#18 gauge) to restrict the flow of the solvent. The applicator tip should have a screw on cap capable of replacing the needle and resealing the container when not in use.
Sealing Procedure

- Close the Zippertubing® jacket using the recommended ZT® installation tool.
- Install the applicator tip and needle on dispensing container.
- Lift one end of the installed Zippertubing® assembly about 10-15 degrees.
- Rotate the jacket so the track inter-lock joint faces up and the separation crack is slightly off the 12 o’clock position. This will allow gravity to cause the solvent to flow down into the joint.
- Position the applicator needle near the crack at the elevated end. Do not push the needle into the crack.
- Begin application of the solvent by tipping the container up and allowing the solvent to flow out of the needle (do not squeeze the container). Move the needle down the track providing a smooth, even flow.
- Continue the process over the entire assembly length.
- Allow finished assemblies to cure for the minimum time period specified for the specific solvent type used. Do not bend or flex the assembly until the sealed joint is fully cured.